Have you noticed unsightly black patches creeping up your walls? If so, you’re likely dealing with mould, a common yet hazardous problem in many UK homes. Mould not only damages walls and ceilings but can also trigger allergies, breathing issues, and long-term property damage if left untreated.
Thankfully, there are natural and safe ways to tackle the issue without resorting to harsh chemicals or costly services. Understanding the causes, using the right cleaning methods, and taking proactive steps to prevent future outbreaks are key.
Whether you’re facing mould in the bathroom, behind furniture, or around windows, this guide will walk you through how to clean mould off walls naturally at home.
You’ll also learn how to keep it from coming back for good. Let’s explore how you can get rid of mould safely and effectively using eco-friendly, DIY approaches that really work.
What Causes Mould to Appear on Your Walls?
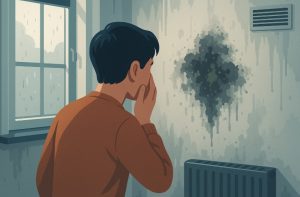
Mould is more than just a surface-level nuisance. It often signals deeper moisture problems in your home. Mould thrives in damp, humid, and poorly ventilated environments, and walls are prime targets when the right conditions align.
Moisture is the root cause. It can stem from leaks in roofs, pipes, or windows. In older properties, rising damp is a common contributor, where moisture seeps upward through brickwork. In newer homes, poor insulation and insufficient drying during construction can trap moisture within walls.
Condensation is another frequent trigger. This happens when warm, humid air meets cold surfaces, such as uninsulated walls or single-glazed windows.
Mould can also result from lifestyle habits like:
- Drying clothes indoors without adequate ventilation
- Not using extractor fans while cooking or bathing
- Keeping furniture tightly pressed against external walls
- Failing to regularly air out rooms, especially in winter
- Leaky plumbing hidden behind walls
In some cases, your home’s layout or structure might naturally restrict airflow, allowing damp spots to develop unnoticed. Kitchens and bathrooms are especially vulnerable due to frequent steam and high humidity.
Understanding these causes is the first step to treating mould properly. If you can locate the source of the dampness, you’ll be better equipped to clean and prevent mould effectively. Addressing the moisture issue is just as important as cleaning the surface.
Is It Safe to Clean Mould Yourself?
Cleaning mould off your walls can be safe, but only under the right conditions. The size and cause of the outbreak determine whether you can handle it yourself or need a professional. Generally, if the mould patch is less than one square metre and isn’t caused by contaminated water or sewage, it’s considered safe for you to clean.
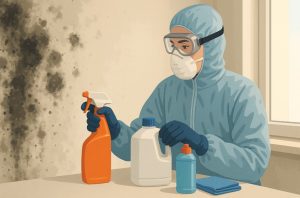
However, mould can pose health risks if not approached carefully. The spores can irritate your lungs, trigger allergies, or worsen conditions like asthma. Always wear protective gear before starting.
Key safety measures include:
- Wearing long rubber gloves, a face mask, and eye protection
- Ventilating the room by opening windows
- Sealing the door to prevent spores from spreading to other areas
- Keeping children and pets away during cleaning
- Avoid brushing or scrubbing dry mould, as it can release spores
It’s also essential to know your limits. If mould has spread across multiple rooms, is persistent despite cleaning, or has penetrated materials like plasterboard, seek professional help. In such cases, the mould could be deeper than the surface, and removing just the visible part won’t solve the problem.
By taking the right precautions, you can clean smaller mould areas safely at home. Just remember, your health and safety should always come first when dealing with mould.
What Should You Do Before Cleaning Mould?
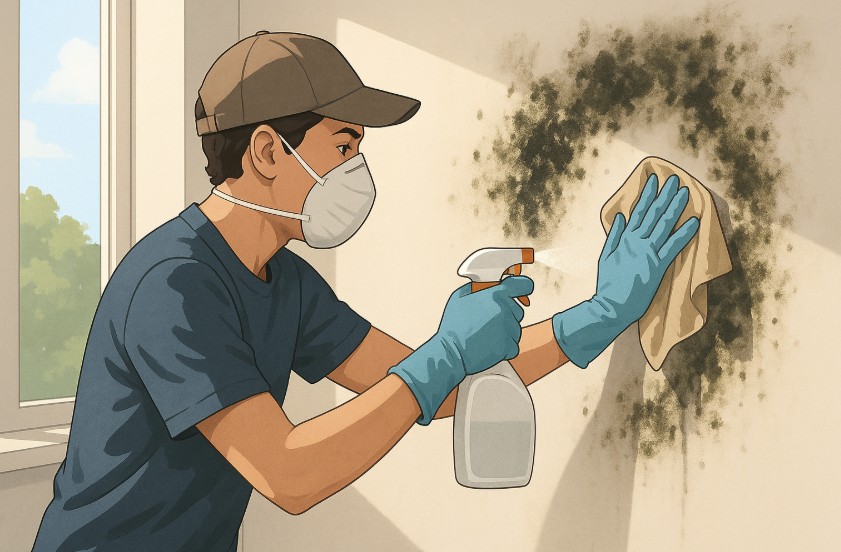
Before jumping into mould removal, you need to prepare properly to ensure the process is safe and effective. Pre-cleaning preparation helps prevent cross-contamination and ensures the cleaning agents work without damaging your walls. Start by choosing the right protective gear.
You’ll need:
- Disposable gloves to avoid skin contact
- A face mask (preferably FFP2 or FFP3) to prevent inhaling spores
- Safety goggles to protect your eyes
- Old clothes you don’t mind discarding
Next, ventilate the space. Open windows to allow fresh air in and help carry spores outside. Close doors to other rooms to stop spores from spreading around your home. If possible, switch off central heating to reduce air circulation during cleaning.
Prepare your cleaning tools and solutions. You may choose from vinegar, baking soda, or a homemade spray. Always test your solution on a small, hidden area first to avoid damage.
Clear the area around the mould so you have easy access. Remove any furniture or curtains that could be affected. Lastly, avoid dry brushing mould. This can release spores into the air. Use damp cloths or sponges to gently clean affected surfaces.
With proper preparation, you’ll clean more thoroughly and stay safer throughout the process. Always ensure these steps are followed to avoid worsening the mould problem or affecting your health.
What Are the Most Effective Natural Mould Cleaners?
Natural mould removers are ideal for those seeking a non-toxic, eco-friendly alternative to harsh chemical sprays. They’re affordable, effective, and safe to use in areas like children’s bedrooms, kitchens, or anywhere ventilation may be limited. Let’s explore the most powerful natural cleaning options available for home use.
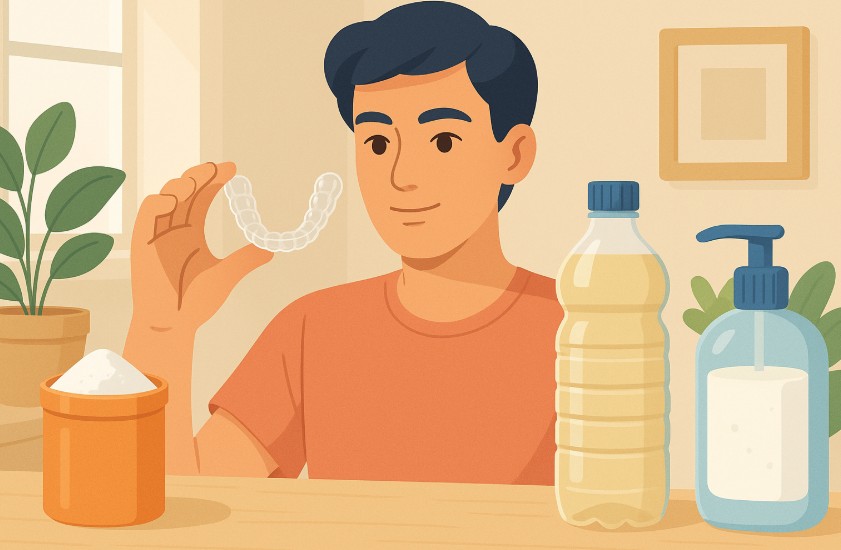
1. White Vinegar

White vinegar is one of the most popular and effective natural mould cleaners. Its acidic nature helps kill over 80% of mould types. Use a solution of equal parts white vinegar and warm water in a spray bottle. Spray the mouldy surface and let it sit for about an hour before wiping it away with a damp cloth. For tough patches, repeat the process or increase the vinegar ratio.
2. Baking Soda
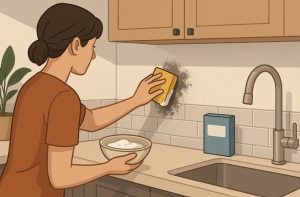
Baking soda works best on light mould and helps neutralise musty odours. Mix one teaspoon of baking soda with two cups of water in a spray bottle. Spray, scrub gently with a soft brush, then wipe clean. You can also mix baking soda into a paste with a few drops of water and apply it directly to stubborn spots.
3. Lemon Juice
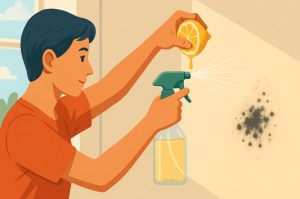
Lemon juice has natural antifungal properties and a pleasant citrus scent. Mix fresh lemon juice with water or combine it with vinegar for added strength. It’s a good option for cleaning walls and tiled areas where you want a fresher scent post-cleaning.
4. Tea Tree Oil
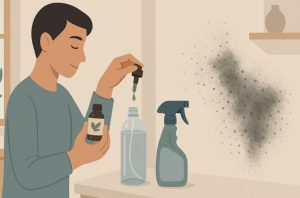
Although more expensive, tea tree oil is a powerful natural mould fighter. Add one teaspoon of tea tree oil to a spray bottle filled with water. Shake well and spray the affected area. Leave it on without rinsing to allow it to work longer.
5. Soap and Warm Water
If the mould is very light, simple warm water with dish soap can be surprisingly effective. It’s a gentle method, perfect for delicate wallpaper or surfaces that can’t tolerate acids or strong cleaners.
These natural cleaners are gentle on your home, better for the environment, and easy to find. For the best results, use them as soon as you spot mould growth.
How Do You Remove Mould from Painted and Wallpapered Walls?
Removing mould from painted or wallpapered walls requires a careful approach to avoid damaging the surface. These areas are often delicate, so using the right method is key.
For painted walls, natural cleaners like white vinegar and baking soda work best. Spray a solution of equal parts vinegar and water onto the mouldy area and let it sit for up to an hour. Use a soft sponge to wipe gently, avoiding abrasive brushes that could strip the paint. Always patch test in an inconspicuous spot first to check for discolouration.
If you’re dealing with wallpaper, the method depends on its type. Light mould on washable wallpaper can be cleaned with warm, soapy water or diluted vinegar. Avoid over-saturating the surface, as wallpaper can bubble or peel. Sponge lightly and pat dry immediately after cleaning.
For textured or heavily stained wallpaper, apply a baking soda paste and gently dab the surface. If vinegar or soap isn’t enough, try natural mould sprays designed for wallpapers, being cautious with moisture levels.
In cases where mould has penetrated the surface or plasterboard underneath, surface cleaning may not be enough. You may need to replace the affected section entirely.
Always allow the wall to dry fully before repainting or redecorating. Damp walls encourage the return of mould, so drying is a crucial final step.
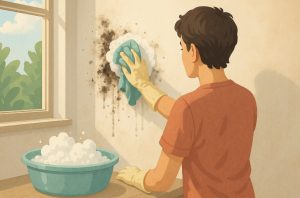
What Steps Should You Follow to Clean Mould Naturally?
Once you’re prepared and have your natural cleaning solution ready, it’s time to begin the mould removal process. Using a step-by-step approach ensures the mould is removed effectively without risking damage to your walls or your health.
Start by applying your chosen cleaner. For white vinegar or a baking soda solution, spray generously over the mouldy area. Let it sit for 30 to 60 minutes. This dwell time allows the solution to break down the mould and kill its spores.
After soaking, use a damp cloth or soft-bristled brush to gently scrub the area. Avoid using too much pressure, especially on painted or wallpapered walls. Your goal is to remove the mould without removing the surface layer underneath.
Once scrubbed, rinse the area lightly with clean water and wipe it with a separate cloth. Make sure you remove any residue from the natural cleaner. Some solutions, like tea tree oil, can be left on the wall, but vinegar and baking soda should be cleaned off fully to prevent damage.
Finish by drying the wall thoroughly with a clean, dry towel or microfibre cloth. You can also use a fan or dehumidifier to help the drying process. These steps, when followed carefully, will help you remove mould effectively and naturally, without leaving harmful chemicals behind in your living space.
How Can You Prevent Mould from Coming Back?
Cleaning mould is only part of the solution. To stop it from returning, you must address the root cause of the moisture that allowed it to grow in the first place. Prevention starts with managing damp and humidity in your home.
Check for hidden leaks. Leaky pipes behind walls or under floors can create constant dampness. Fix these immediately to reduce recurring mould issues. Improve air circulation throughout your home.
Keep internal doors open when possible and regularly air out rooms by opening windows for at least 15 minutes a day. Install extractor fans in high-moisture areas like bathrooms and kitchens. These help expel steam from showers, cooking, and washing.
Here are key ways to prevent recurrence:
- Use a dehumidifier in moisture-prone areas
- Avoid drying clothes indoors
- Maintain indoor humidity between 30 and 50 percent
- Keep furniture slightly away from walls to allow airflow
- Use anti-mould or anti-condensation paint on vulnerable surfaces
By staying proactive and maintaining proper moisture control, you can significantly reduce the chances of mould making a return appearance in your home.
What Natural Mould Prevention Habits Should You Adopt?

Long-term mould control is best achieved through consistent daily habits. These lifestyle changes don’t require big investments but make a major difference over time. Start your day by opening windows to let fresh air circulate. Just 15 minutes of ventilation in the morning can reduce moisture levels significantly.
After cooking or showering, always use extractor fans or open a window. Steam builds up quickly in kitchens and bathrooms, and if left unchecked, it leads to condensation and mould growth. Avoid drying clothes indoors. If you must, use a room with excellent airflow and a dehumidifier.
Here are other practical habits to develop:
- Regularly wipe down windowsills and cold walls prone to condensation
- Use lids when cooking to minimise steam
- Wipe away water after bathing or showering
- Leave wardrobe doors slightly open to prevent trapped moisture
- Use vinegar spray weekly on common mould spots as a preventative measure
Consistency is key. These small changes, when done regularly, help create an environment that is less welcoming for mould and damp, keeping your home healthier and cleaner year-round.
When Is It Time to Call a Professional?
While many mould problems can be solved at home, certain situations call for professional intervention. Knowing when to stop DIY efforts is vital for your health and the safety of your property.
If the mould covers more than one square metre or keeps returning despite thorough cleaning, it likely stems from a deeper issue that needs expert assessment. Likewise, if the mould is caused by contaminated water from a sewage leak, don’t attempt to remove it yourself.
Health symptoms such as frequent headaches, breathing problems, skin irritation, or persistent allergies in your household could be linked to airborne mould spores. This is a red flag that professional cleaning is needed.
Here’s when to call a mould specialist:
- Multiple rooms are affected
- Mould returns quickly after treatment
- You suspect black mould (toxic species)
- There’s structural water damage
- Occupants have health issues linked to indoor air
Professionals use specialised tools and treatments to detect hidden moisture and eliminate mould at the root. Their assessment also helps prevent more costly damage in the future. When in doubt, it’s always safer to get expert advice.
Conclusion
Mould may seem like a minor inconvenience, but it can escalate quickly if ignored. The good news is that with natural solutions, safe methods, and consistent habits, you can eliminate mould from your walls and keep it from coming back. Using everyday ingredients like vinegar and baking soda gives you a cost-effective and environmentally friendly way to clean and protect your home.
Prevention is just as important as removal. Improving ventilation, reducing humidity, and identifying sources of moisture all play crucial roles in creating a mould-resistant home environment. When handled correctly, mould removal doesn’t require chemicals or costly services.
However, always know your limits. If mould spreads or causes health concerns, it’s best to involve a professional. With the right approach, your home can stay clean, healthy, and mould-free for the long term.
FAQs
What’s the safest natural product to clean mould?
White vinegar is the safest and most effective natural mould cleaner for household walls and surfaces.
Can you use lemon juice to remove mould?
Yes, lemon juice has antifungal properties and works well for light mould, especially when combined with water or vinegar.
How long does vinegar take to kill mould spores?
Vinegar should be left on the mould for at least 30 to 60 minutes to kill most spores before wiping.
Will mould come back after using natural cleaners?
It can return if the underlying moisture issue isn’t addressed, so prevention is key after cleaning.
What if mould stains are left behind after cleaning?
Stains can sometimes remain even after killing mould, so repainting or treating with mould-resistant paint may be needed.
Is it okay to use vinegar and baking soda together?
Yes, they can be used together, but should not be stored mixed; apply separately for best results and rinse thoroughly.
Does opening windows help prevent wall mould?
Absolutely. Daily ventilation reduces humidity levels and helps prevent the conditions that mould needs to grow.