Welcome to the ultimate guide on how to keep your Dyson DC40 in top-notch condition! Whether you’re a cleaning enthusiast or just looking to prolong the life of your trusty vacuum, this step-by-step tutorial will have your Dyson DC40 sparkling and performing like new in no time. From identifying your model to troubleshooting common issues, we’ve got you covered. Let’s dive into the world of Dyson maintenance and ensure that clean floors are always just a sweep away!
Identifying Your Dyson DC40

To start off, it’s crucial to correctly identify your Dyson DC40 model before diving into the cleaning process. Your Dyson DC40 should have a label indicating the model number and serial number. These numbers are usually located on the main body of the vacuum or near the power cord. Once you’ve located these details, you’ll be able to ensure that you’re following the specific maintenance steps tailored to your exact Dyson DC40 model for optimal results.
Locating the Serial Number
When it comes to maintaining your Dyson DC40, knowing where to find the serial number is crucial. The serial number serves as a unique identifier for your specific model, helping you access accurate information and replacement parts if needed.
To locate the serial number on your Dyson DC40, check underneath the main body of the vacuum or on the back of the machine near the power cord. It’s essential to keep this information handy for reference whenever you’re troubleshooting or seeking assistance with maintenance tasks.
Understanding the Model Specifics
When it comes to understanding the model specifics of your Dyson DC40, it’s essential to know the ins and outs of this powerful vacuum cleaner. Each Dyson model has unique features and functions that set it apart from others in the lineup. The DC40, known for its lightweight design and powerful suction capabilities, is a popular choice among homeowners looking for efficient cleaning solutions.
From its ball technology for easy maneuverability to its Radial Root Cyclone technology for capturing microscopic dust particles, the Dyson DC40 is designed with precision engineering to deliver top-notch performance. Familiarize yourself with these specific details to make the most out of your cleaning experience with the Dyson DC40.
How to Clean a Dyson DC40?
Identifying Your Dyson DC40 is the first step in proper maintenance. Locating the Serial Number helps in finding model-specific information for effective cleaning techniques. Understanding the Model Specifics ensures you are addressing your vacuum’s unique needs accurately.

When cleaning a Dyson DC40, start by Cleaning the Filters regularly to maintain optimal performance. Removing Dust Build-up from Rubber Seals prevents blockages and maintains suction power efficiently. Stay tuned for more tips on maintaining your Dyson DC40!
Cleaning the Filters
To keep your Dyson DC40 running smoothly, regular filter cleaning is key. Start by locating the filter release button on the vacuum’s body. Once released, gently remove the filters and tap them to dislodge any trapped dirt and debris.
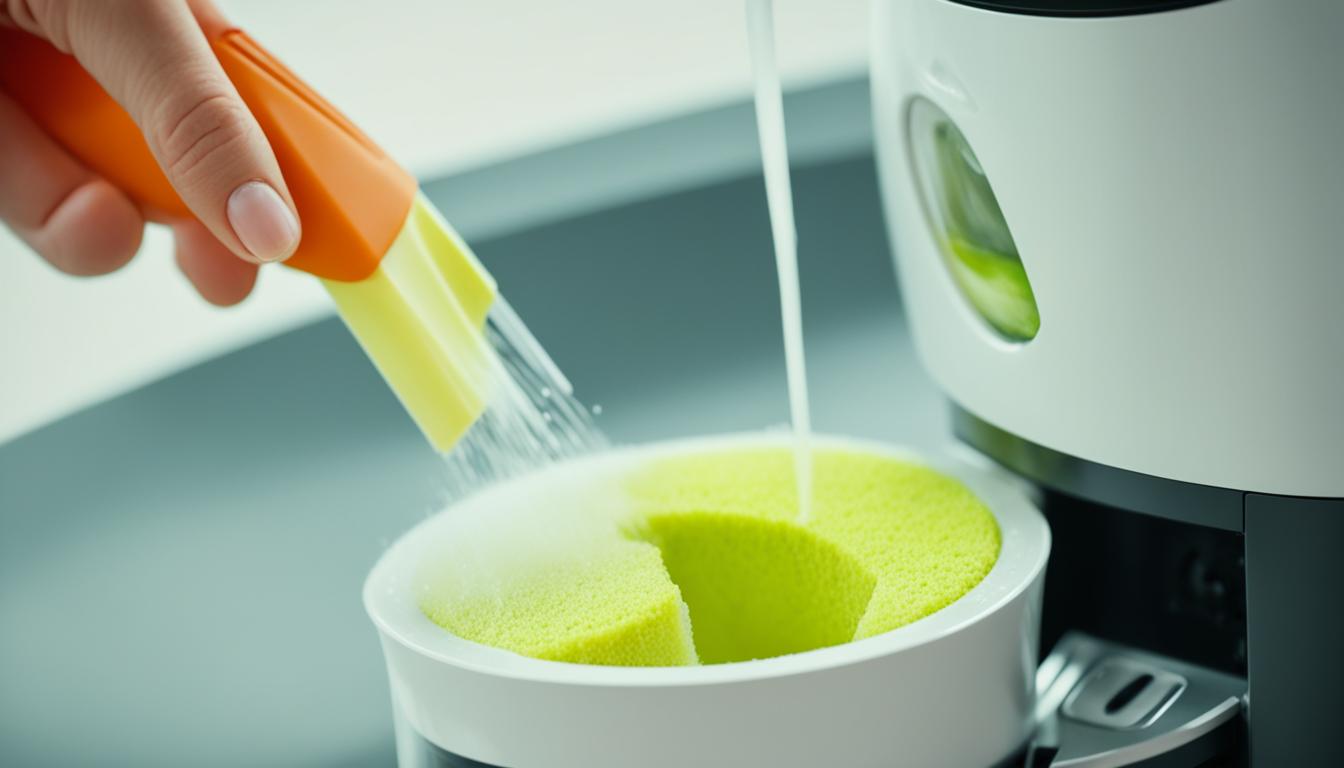
For a deeper clean, wash the filters in lukewarm water without using any detergents. Let them air dry completely before reinserting them into your Dyson DC40. Remember, clean filters ensure optimal performance and prolong the life of your vacuum cleaner!
Removing Dust Build-up from Rubber Seals
When it comes to maintaining your Dyson DC40, don’t overlook the importance of cleaning dust build-up from rubber seals. Over time, dirt and debris can accumulate in these seals, affecting the vacuum’s performance.
To tackle this task, use a soft brush or cloth to gently remove any dust or grime from the rubber seals. Pay close attention to crevices where particles tend to hide. Regularly cleaning these areas will help ensure that your Dyson DC40 continues to operate at its best efficiency levels.
Maintaining the Dyson DC40’s Beater Head

When it comes to maintaining your Dyson DC40, paying attention to the beater head is crucial. Over time, debris and hair can get tangled around the brush bar, affecting its performance. To keep your vacuum running smoothly, regularly check and clean the beater head.
Start by unplugging your Dyson DC40 and flipping it over to access the beater bar. Use scissors or a knife to carefully cut away any hair or threads wrapped around the bar. Remember to also inspect for any obstructions that may hinder its rotation.
Lubricating Moving Parts
To keep your Dyson DC40 running smoothly, it’s essential to lubricate its moving parts regularly. Start by identifying the areas that require lubrication, such as the pivot points and rotating components. Using a silicone-based lubricant specifically designed for household appliances, apply a small amount to these areas to reduce friction and ensure optimal performance.
Remember not to over-lubricate as this can attract dust and debris, causing potential blockages in the long run. By taking care of the moving parts with proper lubrication, you can extend the lifespan of your Dyson DC40 and maintain its efficiency for years to come.
Troubleshooting Common Issues
Encountering issues with your Dyson DC40 can be frustrating, but fear not – troubleshooting common problems is simpler than you think. If you notice a drop in suction power, start by checking the filters. Clogged filters can hinder performance. Clean or replace them to restore optimal airflow.
Another prevalent issue is a non-spinning beater head. This could stem from debris accumulation or belt damage. Inspect the brush bar for any obstructions and ensure the belt is intact and properly aligned. By addressing these common dilemmas promptly, your Dyson DC40 will soon be back to its efficient cleaning prowess!
Addressing Suction Power Problems
Is your Dyson DC40 not picking up dirt like it used to? Suction power issues can be frustrating, but they’re common and manageable. Start by checking for blockages in the hose or wand – a clog could be hindering airflow. Detach the hose and inspect it carefully, ensuring there are no obstructions that could be causing suction problems. Next, take a look at the filters – dirty filters can also reduce suction power. Regularly cleaning or replacing them can make a big difference in how well your vacuum performs.
Another culprit for weak suction might be a full dustbin – empty it if necessary. Additionally, ensure that all components are securely attached and fitted properly to avoid any leaks that may impact suction strength. By troubleshooting these common issues, you can often restore your Dyson DC40’s powerful cleaning capabilities without much hassle!
Fixing a Non-Spinning Beater

Is your Dyson DC40’s beater not spinning as it should? Don’t worry, this common issue can often be fixed with a few simple steps. First, check for any blockages or tangled hair that may be causing the problem. Carefully remove any debris and ensure the brush bar is free to rotate smoothly.
Next, inspect the belt for any signs of wear or damage. If needed, replace the belt following your model’s specific instructions. By addressing a non-spinning beater promptly, you can keep your Dyson DC40 running efficiently for years to come!
The Benefits of Regular Maintenance
Regular maintenance of your Dyson DC40 comes with numerous benefits. By keeping up with routine cleaning and care, you can ensure that your vacuum operates at its optimal performance level. This not only extends the lifespan of your machine but also helps maintain strong suction power for efficient cleaning sessions.
Additionally, regular maintenance prevents costly repairs down the line by addressing minor issues before they escalate into major problems. Taking the time to clean filters, lubricate moving parts, and address common issues can save you both time and money in the long run while ensuring that your Dyson DC40 remains in top condition.
Conclusion
Regular maintenance is key to ensuring your Dyson DC40 performs at its best for years to come. By following the simple cleaning and troubleshooting tips outlined in this guide, you can keep your vacuum in top condition and avoid common issues like reduced suction power or a non-spinning beater head. Remember to clean the filters, remove dust build-up from rubber seals, maintain the beater head, lubricate moving parts, and address any problems promptly.
Taking care of your Dyson DC40 not only prolongs its lifespan but also ensures that it continues to provide powerful suction for effective cleaning. So don’t wait until something goes wrong – incorporate these maintenance steps into your routine cleaning schedule. Your Dyson DC40 will thank you with reliable performance every time you use it!
FAQ
Why is it important to clean dust build-up from rubber seals on my Dyson DC40?
Cleaning dust build-up from rubber seals is crucial to prevent blockages that can affect the vacuum’s performance. Regular maintenance of these areas ensures optimal efficiency in suction power.
How often should I lubricate the moving parts of my Dyson DC40?
It is recommended to lubricate the moving parts of your Dyson DC40 regularly, ensuring smooth operation. Use a silicone-based lubricant designed for household appliances and apply a small amount to pivot points and rotating components to reduce friction and maintain efficiency.
What benefits come with regular maintenance of my Dyson DC40?
Regular maintenance extends the lifespan of your Dyson DC40, maintains strong suction power, prevents costly repairs by addressing minor issues early, and saves time and money in the long run. Consistent care ensures reliable performance and effective cleaning sessions.
What should I do if I encounter a non-spinning beater head on my Dyson DC40?
If your Dyson DC40’s beater head is not spinning as it should, check for blockages or tangled hair obstructing its rotation. Remove any debris, inspect the belt for wear, and replace it if necessary following specific instructions to restore efficient operation.
How can I troubleshoot suction power problems with my Dyson DC40?
If you notice a decrease in suction power, check for blockages in the hose or wand, clean or replace filters, empty the dustbin if full, ensure components are securely attached, and address leaks that may impact suction strength. These steps can help restore your vacuum’s powerful cleaning capabilities.


