Extractor fan filters are often the unsung heroes of your kitchen. While you’re focused on cooking, these filters quietly capture grease, smoke, and airborne particles, preventing them from settling on your walls and ceiling.
Over time, though, they become clogged with grime, making them less effective and even a potential fire hazard. But don’t worry, cleaning them isn’t as complicated as it sounds.
Whether you cook daily or occasionally, learning how to clean extractor fan filters can improve air quality, keep your kitchen looking fresh, and prolong the life of your fan.
The process can be done using simple household products and minimal effort, once you know what you’re doing. In this guide, you’ll discover easy-to-follow steps, tips for maintaining clean filters, and advice on when to replace them. Ready to breathe fresher air and reduce grease build-up? Let’s get started.
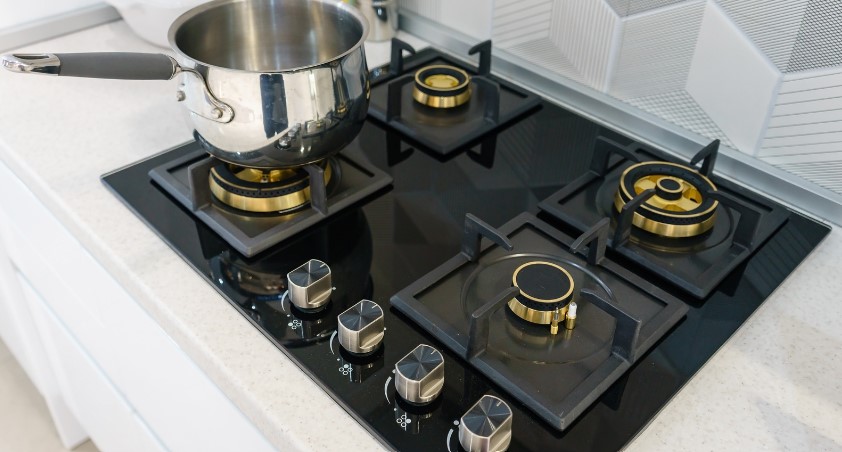
What is an Extractor Fan?

An extractor fan, also commonly referred to as a cooker hood or range hood, is a ventilation device typically installed above your hob or stove. Its main function is to extract steam, smoke, grease, and cooking odours from the air.
This helps keep your kitchen environment clean, fresh, and free of moisture and particles that could settle on your walls and surfaces.
There are three main types of extractor fans vented, recirculating, and downdraft. A vented extractor fan removes air through a duct to the outside, efficiently eliminating odours and grease.
A recirculating fan pulls in air, filters it using charcoal or mesh filters, and then returns it to the kitchen. The downdraft fan, a more modern design, is often hidden behind the hob and rises when needed, extracting air horizontally.
No matter the type, the fan relies heavily on filters, usually metal mesh, paper, or charcoal, to trap grease and airborne particles. These filters are essential for the fan to function properly.
If they are not regularly cleaned or replaced, your extractor fan won’t perform well, which can lead to a greasy, smelly, and less hygienic kitchen environment.
What Happens If You Don’t Clean Your Extractor Fan Filters?
Neglecting your extractor fan filters can lead to more problems than you might expect. It’s not just about hygiene, it can affect the performance of your fan and even your safety.
Dirty filters clog over time and cause poor air circulation. This means cooking smells linger longer, and grease starts accumulating on your walls and ceiling. Worse still, built-up grease is highly flammable and can create a serious fire hazard.
Here’s what can happen when extractor fan filters are not cleaned:
- Reduced airflow: Grease and dirt block the mesh, making the fan work harder and less efficiently.
- Foul odours: Lingering cooking smells can become unpleasant if not properly ventilated.
- Fire risk: Grease build-up in filters is one of the common causes of kitchen fires.
- Increased electricity use: A clogged fan needs more power to run, increasing your energy bill.
- Poor kitchen hygiene: Greasy filters can drip or blow grime back onto your stove and food.
If your extractor fan seems noisier than usual or less powerful, or if the kitchen stays smoky long after you’ve finished cooking, it might be time to check and clean the filters. Keeping them clean is not just maintenance, it’s prevention.
How Often Should You Clean Your Cooker Hood Filters?

How often you clean your filters depends on how frequently you cook and the type of meals you prepare. Frying, grilling, and using a lot of oil tend to clog filters more quickly.
In general, most kitchen experts recommend the following cleaning schedule:
- Metal mesh filters: Clean every 3 to 6 months
- Charcoal filters: Replace every 3 to 12 months, depending on usage
- Paper filters: Replace every 1 to 3 months
Signs your filters need cleaning include:
- Fan sounds louder or less effective
- Strong cooking smells linger
- Visible grease on or around the hood
- Sticky residue dripping from the fan
If you cook daily or fry food often, cleaning every 2 to 3 months is best. For occasional cooks, a 6-month interval may be enough. Check your user manual for specific guidelines, and keep in mind that regularly wiping down the outer hood also helps prevent grime from spreading into the filter system.
What Tools and Products Do You Need to Clean Fan Filters?
Cleaning extractor fan filters doesn’t require specialist tools. You likely already have most of the items needed at home. Here’s a full list to make the process easy and effective.
Common tools and products:
- Hot water (boiling or very warm)
- Dishwashing liquid (preferably degreasing)
- Baking soda or bicarbonate of soda
- Non-abrasive brush or sponge
- Microfibre cloth or paper towels
- Rubber gloves
- Bucket, sink, or large container
- Optional: white vinegar or baby oil for finish
Here’s a useful reference table for you:
| Item | Purpose |
| Dishwashing liquid | Breaks down grease and grime |
| Baking soda | Lifts tough stains and softens grease |
| Non-abrasive brush | Safely scrubs away residue |
| Microfibre cloth | Gentle drying and polishing |
| Hot water | Activates cleaning agents |
| Rubber gloves | Protects your hands from hot water |
| Large container or sink | Used to soak the filters |
Avoid bleach and strong chemical cleaners that could damage the filters or their coatings. Always wear gloves if the water is very hot or if you’re using a degreasing solution. If your fan is stainless steel, baby oil can be used afterward to give it a shiny, fingerprint-resistant finish.
Step-by-Step Process: How to Clean Extractor Fan Filters?
Cleaning your extractor fan filters is easier than you might expect. With a little preparation and the right method, you can restore them to near-new condition without much hassle.
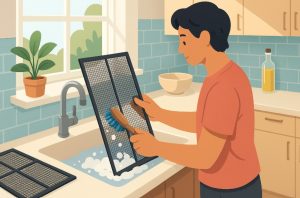
Step 1: Turn Off and Remove the Filters Safely
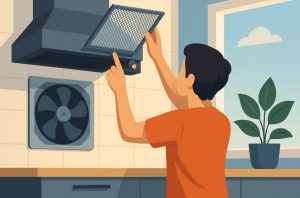
Always begin by switching off the extractor fan and ensuring it’s completely cool. This prevents electrical risks and protects your hands.
Most cooker hood filters are designed to be removable and can either slide out or pop out with light pressure. Hold them carefully as they may be greasy or wet underneath.
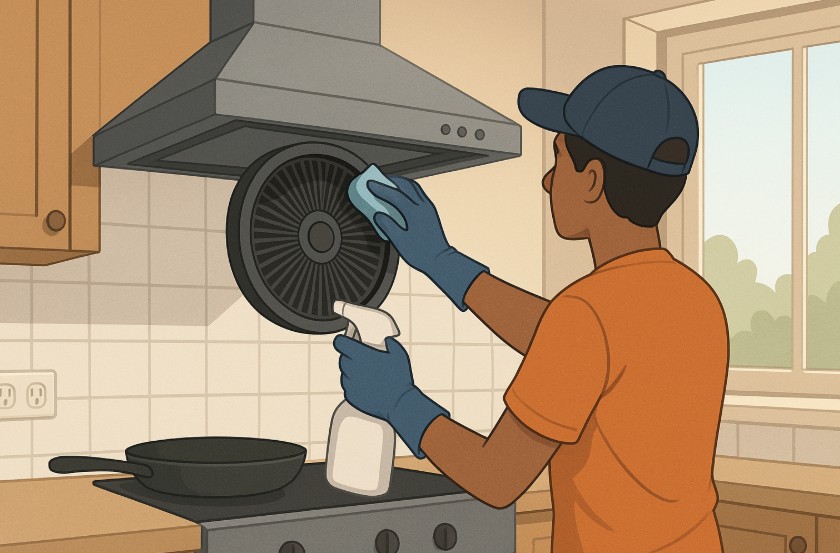
Step 2: Soak the Filters in a Degreasing Solution
Fill your sink or a large container with boiling or very hot water. Add a generous squirt of dishwashing liquid and around half a cup of baking soda.
Stir the mixture until it’s well combined. Submerge the filters completely in this solution. Let them soak for at least 20 to 30 minutes to break down hardened grease.
Step 3: Scrub Away Built-Up Grease
Once the soaking time is up, use a non-abrasive brush or sponge to gently scrub the filters. Focus on any stubborn greasy spots or corners.
If needed, apply a bit more washing-up liquid directly onto the brush. Be thorough but gentle to avoid bending the mesh or damaging the frame.
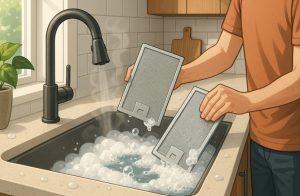
Step 4: Rinse and Dry Properly Before Reinstalling
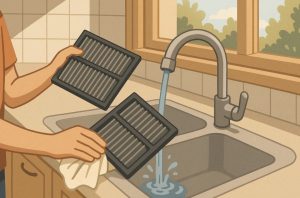
Rinse the filters under hot running water to remove soap, grease, and residue. Shake off excess water and place them on a towel or drying rack.
Pat dry with a clean cloth and allow them to air dry completely. Moisture left in the filters can affect fan performance or lead to mould.
Once fully dry, slide or snap the filters back into place. A deep clean like this every few months will keep your fan running smoothly and your kitchen smelling fresh.
Can You Clean Extractor Fan Filters in a Dishwasher?
Yes, some extractor fan filters, particularly metal mesh filters, can be cleaned in a dishwasher. However, it’s important to check your appliance manual first. Not all filters are dishwasher-safe, especially if they have fragile components or coatings.
If your filters are compatible, place them in the top rack of your dishwasher. Use a normal or low-temperature cycle, preferably without heated drying, as high heat can warp the filter. Avoid using dishwasher tablets with harsh chemicals that might corrode the metal over time.
This method is effective for routine cleaning, but very greasy filters may still benefit from a manual soak and scrub. Also, don’t place charcoal or paper filters in the dishwasher.
These types are not washable and should be replaced instead. Using the dishwasher occasionally for metal filters is a convenient time-saver, especially when doing a full kitchen clean.
Should You Use a Degreaser or Natural Products?
Both options can work well, depending on the level of grease build-up and personal preference. For lightly soiled filters, natural ingredients like baking soda and vinegar are gentle yet effective.
Baking soda softens grease and removes odours, while vinegar helps dissolve grime and adds a disinfecting element.
For tougher jobs, a kitchen degreaser or specialised cleaner designed for oven hoods can be more powerful.
These products break down grease faster and require less scrubbing, making them ideal for filters that haven’t been cleaned in a while.
If using a commercial degreaser, wear gloves and follow the manufacturer’s instructions carefully. Always rinse the filters thoroughly afterward.
Whether you go natural or chemical, both methods can be effective when done correctly. The key is consistency and ensuring you never let grease build up too much between cleans.
How to Maintain Your Extractor Fan Filters Between Deep Cleans?

Regular maintenance reduces the time and effort needed during deep cleans and helps your fan stay efficient. Light cleaning after cooking or once a week can go a long way.
Here are easy tips for ongoing care:
- Wipe the outer hood with a damp cloth and mild detergent
- After frying, quickly dab off grease from the underside with kitchen towel
- Use a splatter guard to reduce airborne oil particles
- Rinse filters under hot water monthly if they’re dishwasher-safe
- Use a soft cloth and white vinegar solution to keep metal finishes streak-free
If you notice strong smells even when the filters look clean, it might be time for a deeper clean or a replacement. Keeping filters clean not only improves kitchen hygiene but also reduces the risk of them becoming clogged or unusable later on.
Are All Filters the Same? (Metal, Charcoal, Paper Explained)
Not all extractor fan filters are made equal. Each type has a specific purpose and cleaning method.
- Metal Mesh Filters: Most common. Reusable and washable. They trap grease and should be cleaned every 3 to 6 months.
- Charcoal Filters: Found in recirculating fans. These remove odours and need to be replaced every 3 to 12 months. Not washable.
- Paper Filters: Disposable and used in basic models. These trap grease but get saturated quickly and must be replaced every 1 to 3 months.
When choosing replacements or deciding how to clean your filters, always refer to your fan’s manual. Knowing what type you have helps prevent damage and ensures efficient operation. If you’re unsure, check the material or model number inside the hood unit.
How Do Clean Filters Improve Air Quality and Safety in Your Kitchen?

Clean extractor fan filters are crucial not only for odour control but also for safety and air circulation. Grease build-up acts as a barrier, restricting airflow and allowing smoke and vapours to linger.
Benefits of clean filters include:
- Better air quality: Removes smoke, steam, and allergens more effectively
- Reduced fire risk: Clean filters don’t hold flammable grease
- Lower energy use: Fans run more efficiently, saving on electricity
- Healthier environment: Prevents bacteria from forming in stale grease
- Improved kitchen cleanliness: Less grime settling on surfaces
A clean filter keeps your kitchen safe, hygienic, and pleasant. Plus, regular cleaning extends the life of the fan itself, saving you money in the long run. Make it a part of your routine, just like cleaning your oven or worktops.
Conclusion
Cleaning your extractor fan filters might not be the most exciting kitchen task, but it’s one of the most important for your home’s hygiene, safety, and comfort. With a simple soak, scrub, rinse, and dry routine, you can keep your fan operating smoothly and your air quality at its best.
By understanding your filter type, cleaning schedule, and using the right products, you’ll avoid grease build-up, unpleasant smells, and potential fire hazards.
Whether you prefer natural methods or a degreaser, the key is consistency. Now that you know how to clean extractor fan filters the right way, it’s time to roll up your sleeves and keep your kitchen fresh.
FAQs
How do I know if my extractor fan filters need cleaning?
If your kitchen smells after cooking or the fan seems weaker, it’s likely time for a clean.
Can I use vinegar to clean extractor fan filters?
Yes, vinegar is effective at cutting grease when used with baking soda in hot water.
Is it safe to put filters in the dishwasher?
Only metal mesh filters are dishwasher-safe, and even then, check your user manual first.
What should I avoid when cleaning extractor filters?
Avoid using bleach or abrasive pads, which can damage the filter surface or coating.
How long should I soak the filters in hot water?
Soak them for at least 20 to 30 minutes to loosen grease effectively.
Can dirty filters cause a kitchen fire?
Yes, built-up grease is highly flammable and increases the risk of a fire starting.
How often should charcoal filters be replaced?
Charcoal filters should be replaced every 3 to 12 months depending on usage.